💡 How to Replace a Light Fixture Safely. Miami’s Step-by-Step Guide to a Simple, Safe Lighting Upgrade
Replacing a light fixture is one of the most common home electrical upgrades—and it can instantly change the mood and style of a room. But while it may seem like a simple DIY project, doing it unsafely or incorrectly can lead to shock hazards, code violations, or fire risks.
At Trusted Electrical Solutions, we help homeowners across Miami, Coral Gables, Kendall, Hialeah, and Pinecrest with safe, stylish lighting upgrades. Here’s a clear and safe guide to replacing your light fixture the right way.
🧰 What You’ll Need
Before you begin, gather:
- Voltage tester
- Screwdrivers (flathead and Phillips)
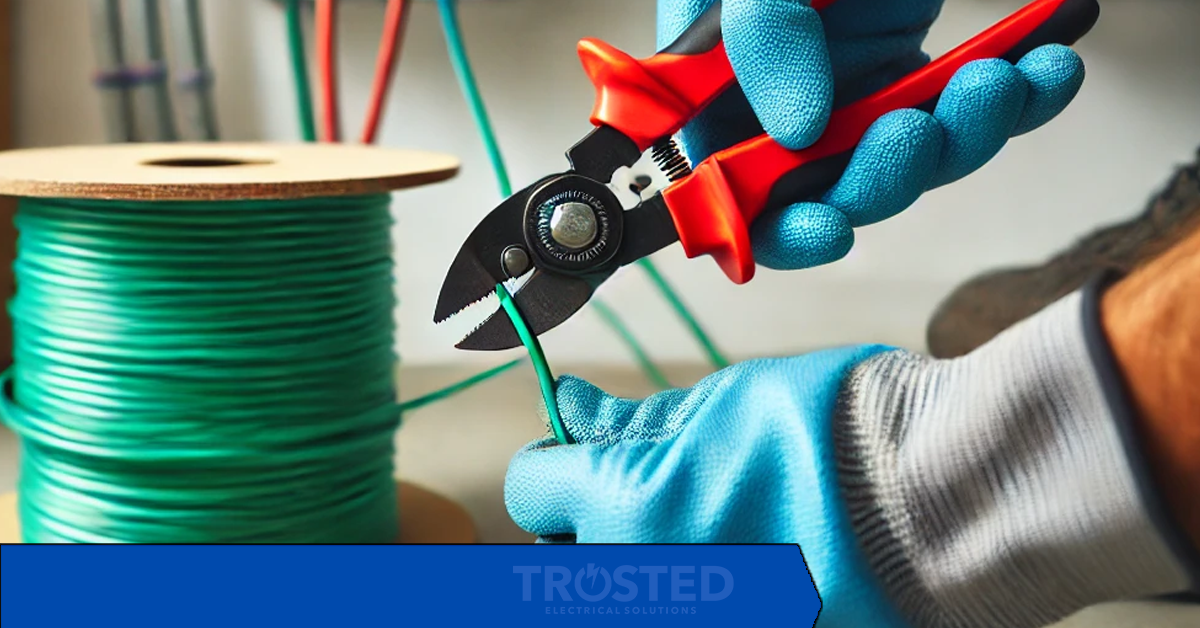
- Wire strippers
- Ladder or step stool
- Your new light fixture (and installation manual)
- Wire nuts and electrical tape
- Safety glasses
⚠️ Important: If you’re uncomfortable working with wires or if the fixture is part of a complex or high-ceiling system, call a licensed electrician. We handle light fixture installations throughout Miami-Dade County.
✅ Step-by-Step: How to Replace a Light Fixture Safely
1. Turn Off the Power
- Head to your breaker panel and turn off the circuit powering the light.
- Double-check it’s off by flipping the wall switch and using a voltage tester at the fixture.
2. Remove the Old Fixture
- Unscrew the mounting hardware and gently pull the fixture base away from the ceiling or wall.
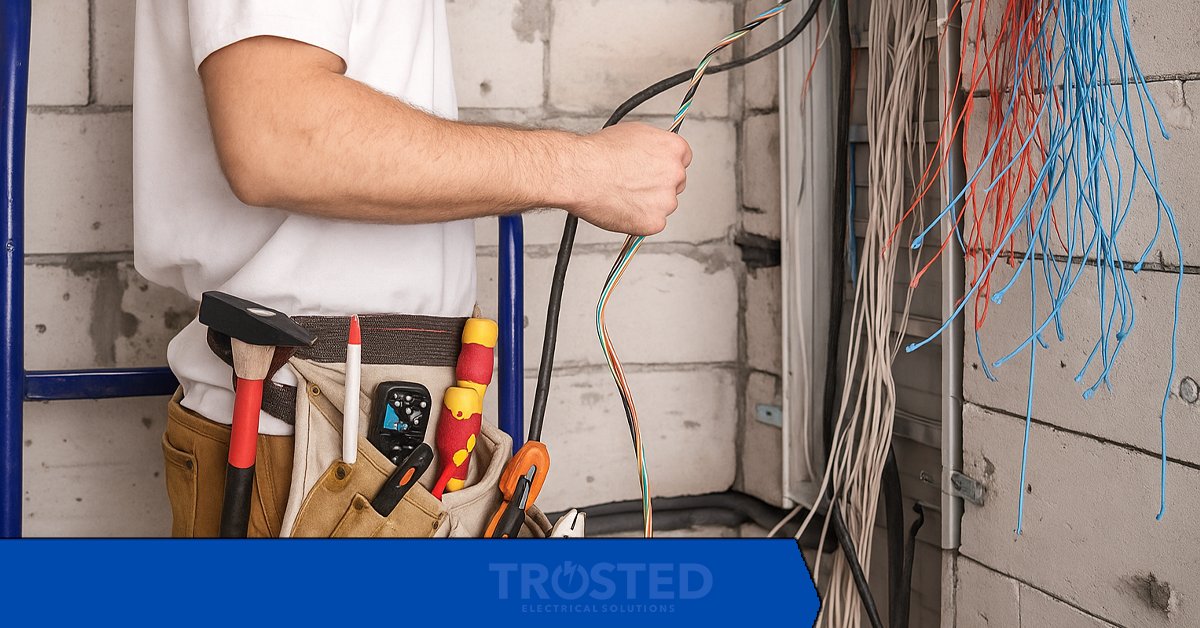
- Disconnect the wires: usually black (hot), white (neutral), and copper or green (ground).
- Remove the mounting bracket if you're installing a new one.
3. Inspect the Electrical Box
- Check for secure connections and that the box is properly anchored.
- If it’s loose or not rated for ceiling fans or heavy lights, you may need to upgrade the box.
4. Connect the New Fixture
- Match wire colors: black to black, white to white, ground to ground.
- Use wire nuts to secure connections and wrap with electrical tape.
- Carefully tuck wires into the box.
5. Mount and Secure the Fixture
- Follow the fixture’s instructions for installing the mounting bracket and attaching the fixture.
- Tighten screws and secure the base flush to the ceiling or wall.
6. Install Light Bulbs and Turn Power Back On
- Add the recommended bulbs (check wattage limits).
- Flip the breaker back on and test your new light!
🏠 Pro Tips for Miami Homeowners
- Humidity Warning: In high-humidity areas like bathrooms, patios, or coastal homes, use fixtures rated for damp or wet locations.
- Ceiling Fans: These require special boxes rated for fan weight—don’t attempt a swap without verifying.
- LED Upgrades: Switching to LED? Consider a dimmer switch upgrade at the same time.
⚠️ When to Call a Licensed Electrician
You should bring in a pro if:
- You’re unsure about your electrical wiring
- The box is loose, damaged, or non-metallic
- There’s no ground wire present
- You’re installing in a high ceiling, outdoor space, or commercial setting
- You want to ensure everything is up to code and safely connected
At Trusted Electrical Solutions, we install light fixtures of all types—chandeliers, flush mounts, recessed lighting, ceiling fans, outdoor lights, and more.
📍 Serving All of Miami-Dade County
Whether you’re remodeling in Coral Gables, upgrading a condo in Brickell, or adding outdoor lights in Cutler Bay, we’ve got you covered.
📞 Call Today: 786-342-9582
🌐 www.trustedelectricalsolutions.com
⚡ Fast. Local. Licensed & Insured.
Leave a comment
Tag Group
Recent Posts


About Author
Our Trusted Electrical Solutions takes great pride in delivering the best electrical services to our customers. We strive to ensure that each customer is satisfied with their experience.
If you are looking for an electrician, we encourage you to give us a call.
We look forward to helping you with all your electrical needs.

Quick Links
Business Hours
Mon - Sunday
24 Hours
Newsletter
Copyright © Trusted Electrical Solutions