💡 Installing a Dimmer Switch: A Step-by-Step Guide
Bring Comfort, Control, and Energy Savings to Your Miami Home
Want to instantly upgrade the look and feel of a room—without breaking the bank? A dimmer switch is one of the easiest and most affordable electrical upgrades you can do. It improves lighting ambiance, extends bulb life, and reduces energy usage.
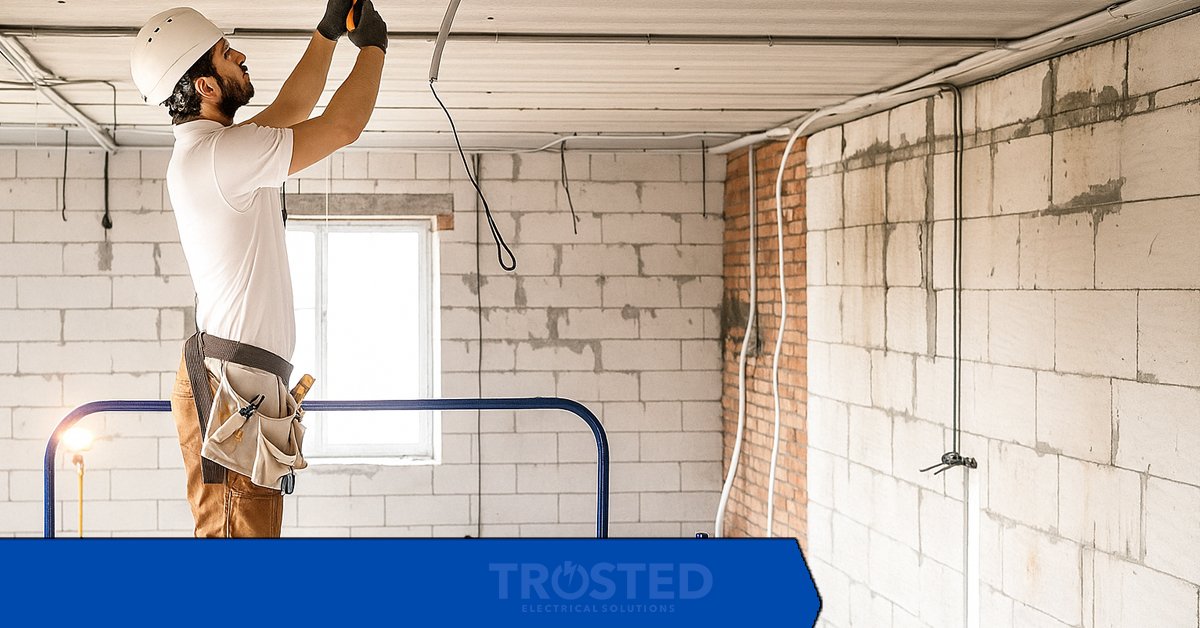
At Trusted Electrical Solutions, we install dimmer switches in homes across Miami, Coral Gables, Kendall, Hialeah, and beyond. Here's your step-by-step guide to installing a dimmer switch safely and correctly.
⚠️ Safety First
Before you start, remember:
- Always shut off power at the breaker box
- Test wires with a non-contact voltage tester
- If you’re unsure about wiring or code requirements, call a licensed electrician
We’re available across Miami-Dade for professional installs—📞 786-342-9582
🧰 What You’ll Need:
- Dimmer switch (choose one rated for your bulb type: LED, incandescent, etc.)
- Screwdriver (flathead and Phillips)
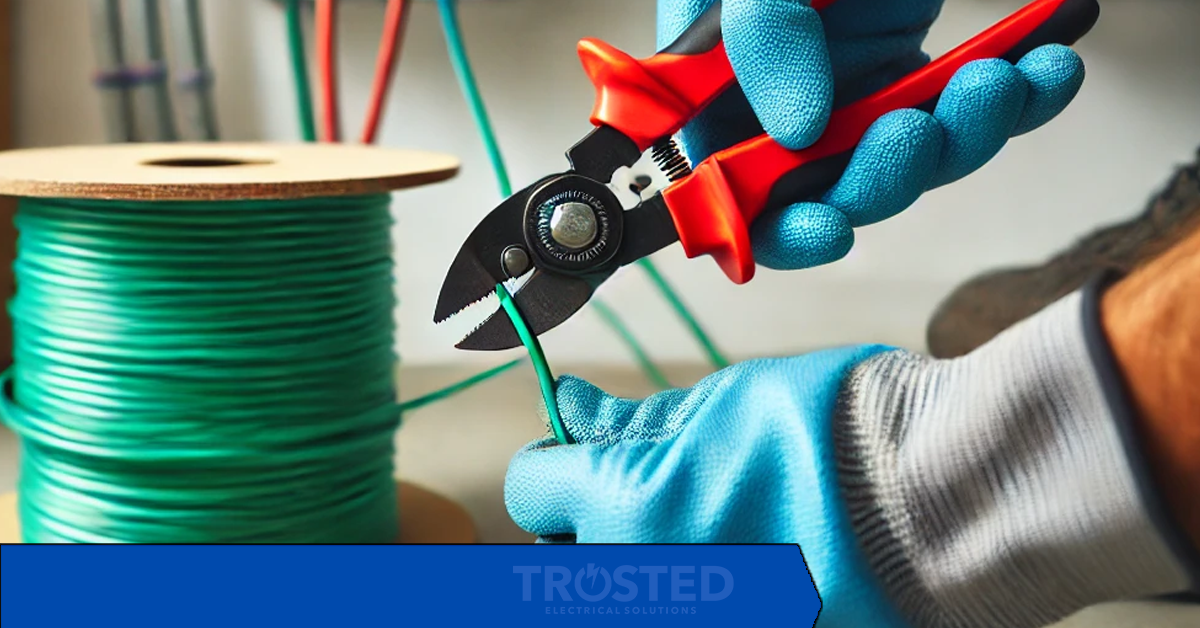
- Wire stripper
- Voltage tester
- Wire nuts
- Electrical tape
✅ Step-by-Step: How to Install a Dimmer Switch
Step 1: Turn Off the Power
- Go to your electrical panel and turn off the breaker controlling the light you’re replacing.
Step 2: Remove the Existing Switch
- Unscrew the wall plate and switch from the electrical box.
- Gently pull the switch out and use a voltage tester to confirm the wires are NOT live.
- Take note of how the wires are connected (you can take a photo for reference).
Step 3: Disconnect the Old Switch
- Typically, you’ll see:
- 1 black (hot) wire
- 1 black or red wire (load)
- 1 bare or green (ground)
- Some may have a neutral (white) wire depending on the switch type
Step 4: Connect the New Dimmer Switch
- Connect wires using wire nuts:
- Black (hot) → Black wire on dimmer
- Load wire → Other wire on dimmer
- Ground → Green wire on dimmer
- Neutral → Only if your dimmer requires it
- Wrap with electrical tape for extra safety.
Step 5: Install the Switch
- Tuck the wires neatly into the box.
- Screw the dimmer switch into place.
- Attach the new wall plate.
Step 6: Turn Power Back On & Test
- Restore power at the breaker.
- Test the switch—make sure it turns the light on and dims properly.
- If using LEDs, ensure the dimmer is LED-compatible to avoid flickering.
💡 Why Install a Dimmer?
Dimmer switches are popular in:
- Bedrooms (softer lighting at night)
- Living rooms (movie night or relaxing)
- Dining rooms (mood lighting)
- Bathrooms (gentle light early in the morning)
Benefits:
✅ Lower energy use
✅ Longer bulb life
✅ Better ambiance
✅ Total light control
🔌 Need Help Installing a Dimmer in Your Home?
Many Miami homes—especially older ones in areas like Westchester, Coconut Grove, or Little Havana—have outdated wiring. Some dimmer installations also require:
- Multi-way switch compatibility (for lights controlled from 2+ locations)
- Aluminum wiring considerations
- Permit requirements for larger upgrades
Skip the guesswork. Our licensed electricians at Trusted Electrical Solutions handle:
- Dimmer switch installations
- Smart switch upgrades
- LED lighting retrofits
- Full home rewiring if needed
📍 Proudly serving Miami-Dade, including:
Miami | Coral Gables | Hialeah | Kendall | Pinecrest | Cutler Bay | South Miami
📞 Call Today: 786-342-9582
🌐 www.trustedelectricalsolutions.com
⚡ Reliable. Licensed. Local.
Leave a comment
Tag Group
Recent Posts


About Author
Our Trusted Electrical Solutions takes great pride in delivering the best electrical services to our customers. We strive to ensure that each customer is satisfied with their experience.
If you are looking for an electrician, we encourage you to give us a call.
We look forward to helping you with all your electrical needs.

Quick Links
Business Hours
Mon - Sunday
24 Hours
Newsletter
Copyright © Trusted Electrical Solutions